
How to install a waterless urinal and how long does it take?
Installing a waterless urinal takes 5–7 minutes: no plumber or special tools are needed (a drill, screwdriver, or screw gun may be required). The urinal is mounted on the wall with fittings selected for your base, and the drain goes via a hose into a container or toilet.
What’s included and what to prepare
The Standard and Standard Plus come with a metal mesh filter and mounting plate. The corner model Standard Corner includes a mesh filter but no plate: the model itself is mounted directly in the corner. You prepare the rest:
- drill, screwdriver, or screw gun and level;
- fittings suitable for your wall;
- hose or pipe for the chosen outlet step;
- container or other vessel if the drain does not go to a toilet or sewer.
Installation steps
- Choose the location and height: at a level convenient for the main users (details – in the answer about placement).
- Select fittings for the wall and mark the points.
- Secure the plate with four screws and hang the urinal on it. The second option from the instructions: drill two holes for screws and attach the urinal directly to the wall.
- Install the metal mesh filter from the kit.
- Connect the drain: cut the outlet to the required step and attach the hose. Detailed – in the answer about drain connection.
- If your model has a Ø70 mm port and the room is enclosed, connect the port to the ventilation duct.
- Check: pour some water into the bowl and ensure it drains into the container without dripping at the connections.
Fittings for different walls
The urinal can be mounted on brick, concrete, wood, or a frame wall. Choose fittings based on the base: dowels are needed for brick and concrete, screws designed for the wall material for wood and frame. The product weighs 1.4–1.5 kg, but on a thin wall made of paneling or board, it is better to mount it to a stud or reinforcement.
Instructions and video
The PDF instructions and video are available on the Standard and Standard Plus pages. Both instructions show two mounting methods, dimensions, and drainage examples. The Standard Plus instructions also include connecting the Ø70 mm port to ventilation.
What to do if something doesn’t match
If the wall is non-standard or you are unsure about the choice of fittings, describe the wall and installation location: the answer will come in writing. If you are unsure about the model choice, model comparison is in the answer about the difference between Standard and Standard Plus.
Suitable Models
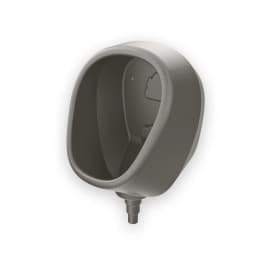
Pi-Pi Standard
Closed-top body – the simplest way to add a standing urinal to a shed or cabin that doesn’t need a vent.
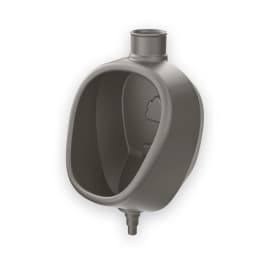
Pi-Pi Standard Plus
Top port Ø70 mm connects directly to the standard ventilation of a composting toilet – for a closed cottage, allotment, or campervan where ventilation is needed.
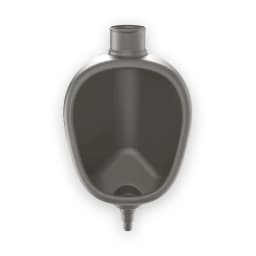
Pi-Pi Standard Corner
Corner shape plus top port Ø70 mm for ventilation – standing urinal even in the tightest cottage.
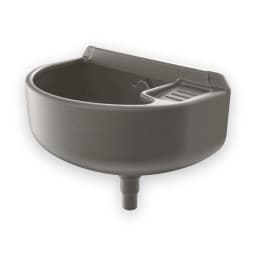
Pi-Pi Outdoor Sink
Durable plastic sink for allotments, garages, and workshops – impact-resistant and frost-proof. Comes with a soap shelf.
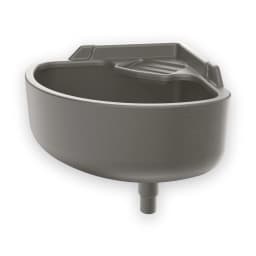
Pi-Pi Outdoor Corner Sink
The same durable plastic sink, but for corners – to save space in tight workshops or cabins.
Related Questions
Have Questions?
Got a question? Message me – I’ll help you pick the right model for your garden shed or toilet setup and sort out delivery. I respond within one business day.

Mart Tamm
Account Manager for United Kingdom
Have questions about products, pricing, or partnership? Email me directly – I’ll respond personally.